Using the mosaik-docker JupyterLab extension
Overview
The mosaik-docker JupyterLab extension integrates package mosaik-docker into the interactive JupyterLab environment. This allows to use mosaik-docker in three possible ways:
An introduction to the basic workflow of package mosaik-docker can be found here.
Use JupyterLab’s graphical user interface
Basics
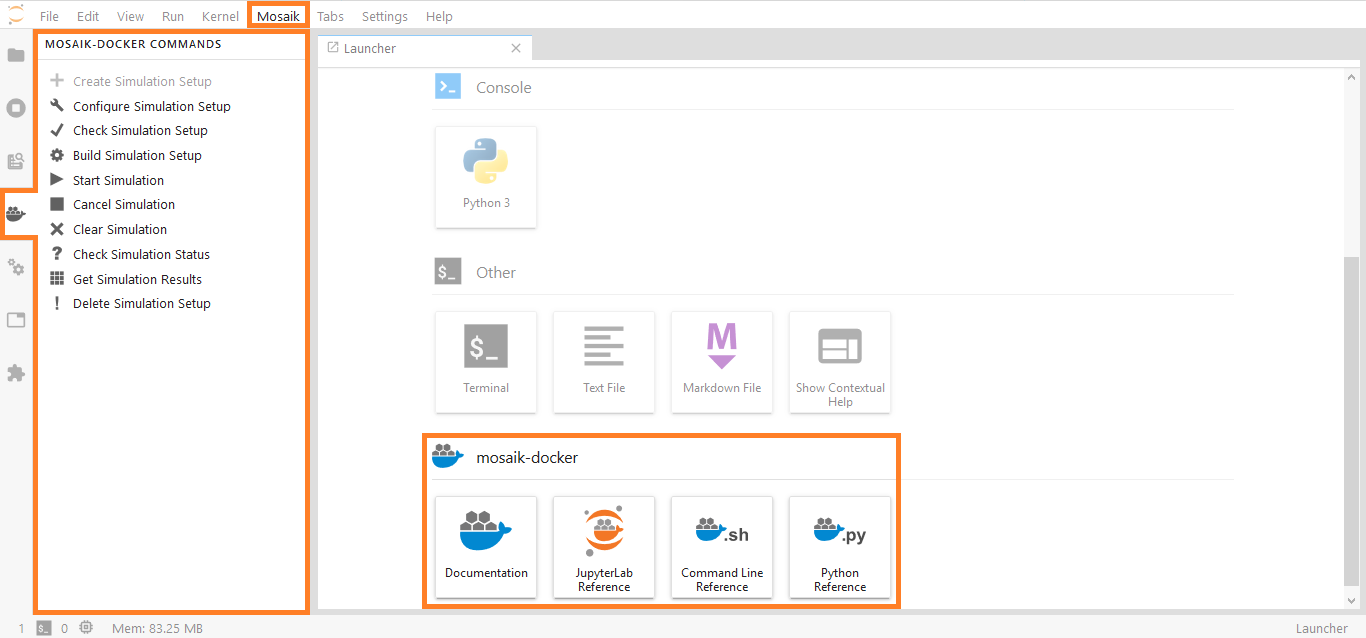
In JupyterLab, you can execute mosaik-docker commands in two ways:
via a side tab to the left
via a drop down menu in the menu bar on the top
In addition, you can find links to the mosaik-docker documentation, this guide and other resources on bottom of the main Launcher tab.
Create a simulation setup
A simulation setup is a directory that contains all necessary scripts and configuration files for a mosaik-docker simulation. You have several possibilities to create a new simulation setup:
select command
Create Simulation Setupfrom the side tabselect command
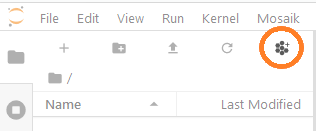
Create Simulation Setupfrom the drop-down menuuse the dedicated button in JupyterLab’s file browser (see image below)
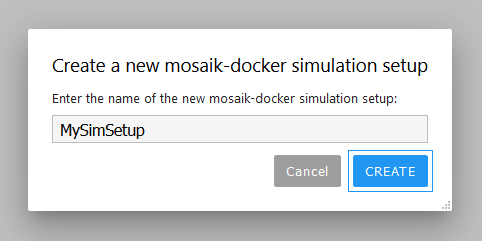
The new simulation setup will be created in the current working directory. To change the working directory, navigate to another directory in the JupyterLab file browser. When creating a new simulation setup you will be prompted for its name.
NOTE: It is not recommended to created nested simulation setups. Hence, the command to create a new simulation setup is greyed out in the side tab and the drop-down menu when your working directory is a simultion setup (or a sub-directory).
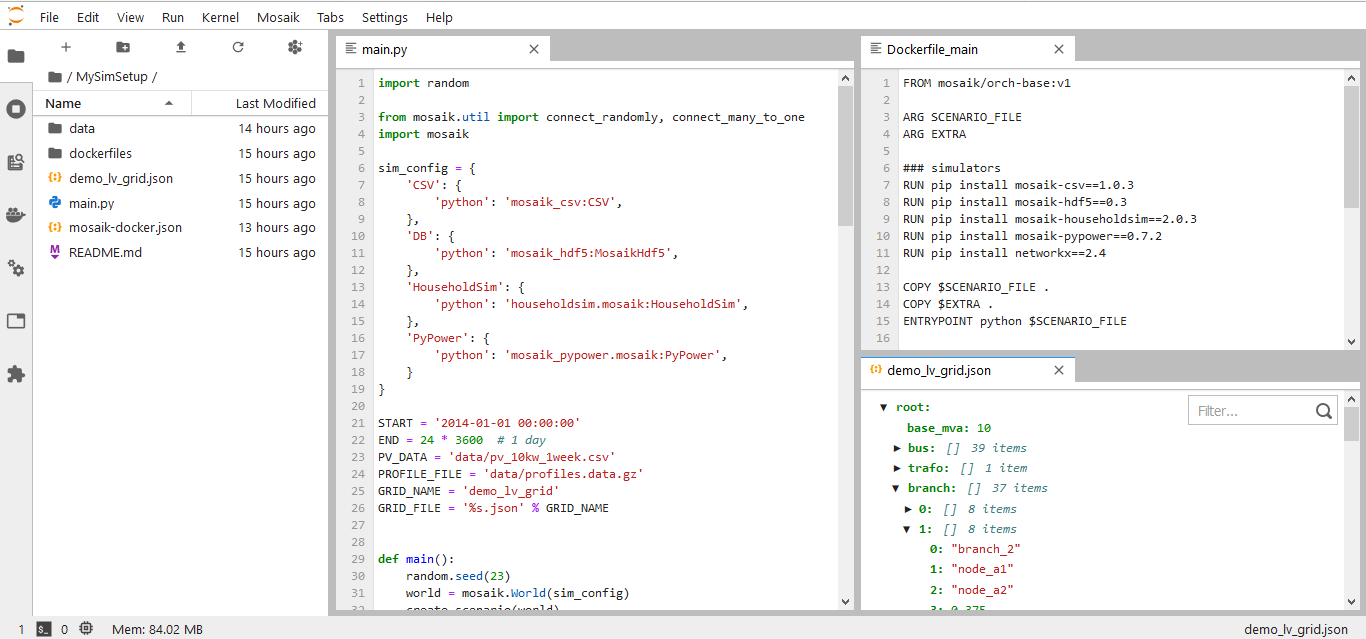
Apart from a config file (mosaik-docker.json) and a minimal Dockerfile for the mosaik orchestrator (dockerfiles/Dockerfile_main), the created simulation setup will be basicaly empty.
To run a simulation, you need to add your own simulation scenario file and optionally some data.
As a starting point you can use one of the simulation setup examples provided here.
The JupyterLab environment is also well suited for developing the content of your own simulation setup, providing for instance an editor with syntax highlighting.
Configure simulation setup
The configuration for the simulation setup is stored in file mosaik-docker.json.
It contains all relevant information for running a dockerized mosaik simulation
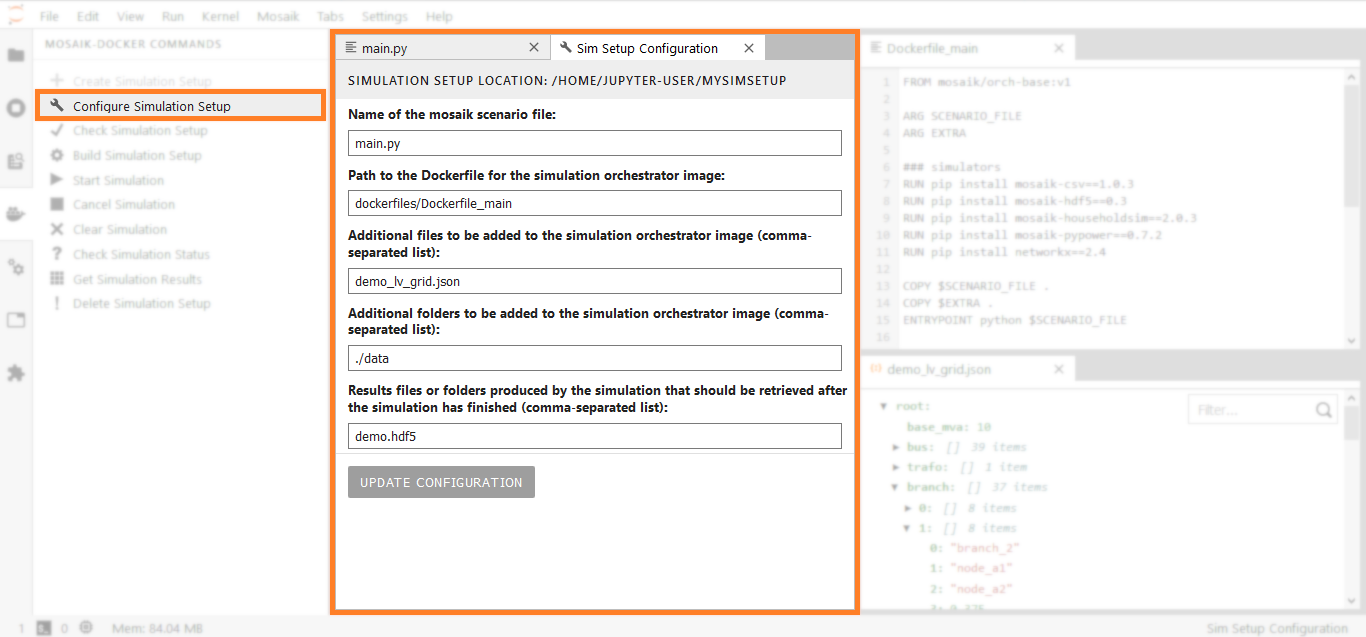
It is highly recommended to NOT edit this configuration file by hand, but to use command Configure Simulation Setup from the side tab or the drop-down menu.
This will bring up a new tab, in which the following configuration items can be edited (all paths either relative to simulation setup directory or absolute):
path to mosaik scenario file
path to Dockerfile for mosaik sim manager
input files and/or folders (optional)
output files (optional)
Once you have provided all configuration items, you can save this information via the UPDATE CONFIGURATION button on the bottom right of the configuration tab.
Check and build simulation setup
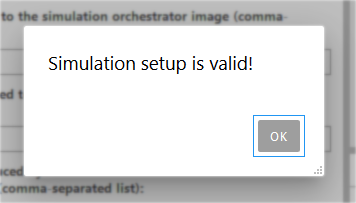
You can use command Check Simulation Setup to check if your simulation setup is valid.
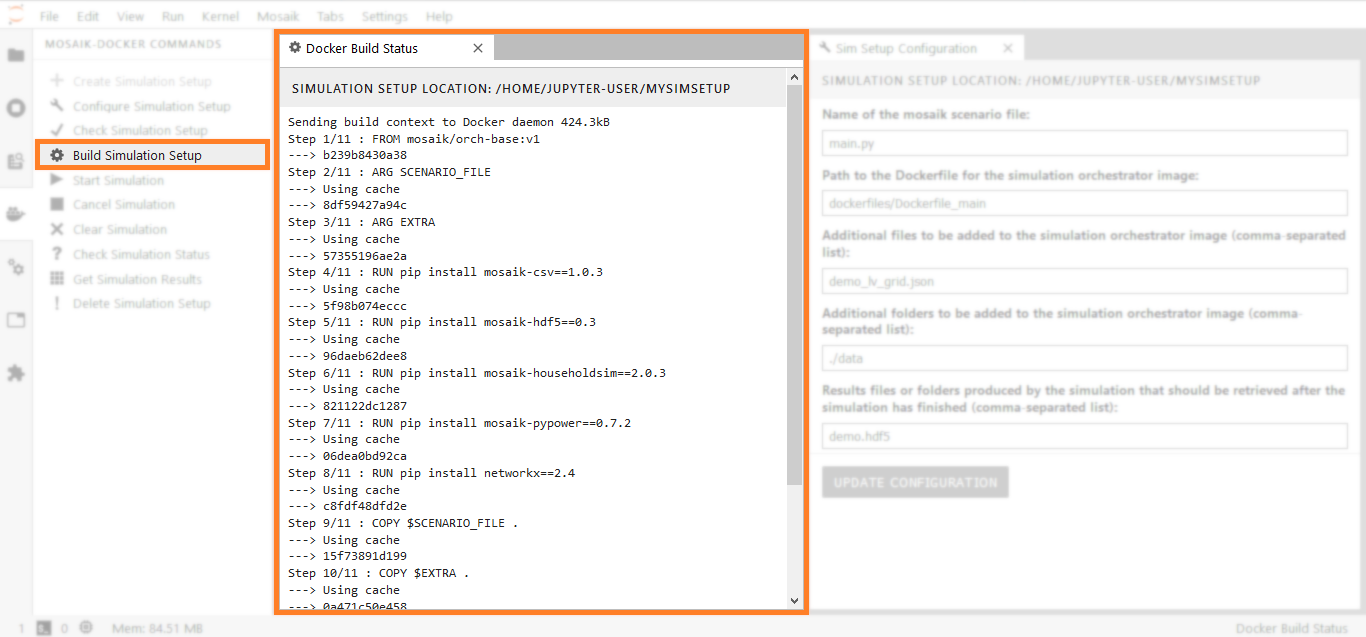
Once your setup seems to be fine, you can use command Build Simulation Setup to build the Docker images for running your simulation.
This will bring up a new tab, on which you can see the output from the Docker image build process.
Run simulations and check their status
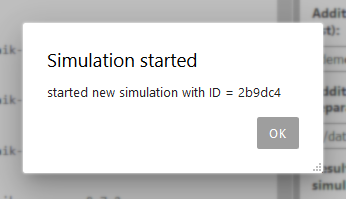
Once the Docker images have been successfully built, you can use command Start Simulation to start new simulation runs.
Simulations are assigned an ID that allows to refer to them for monitoring and further interaction (get results, cancel, clear).
Starting a new simulation will bring up a notification showing its ID.
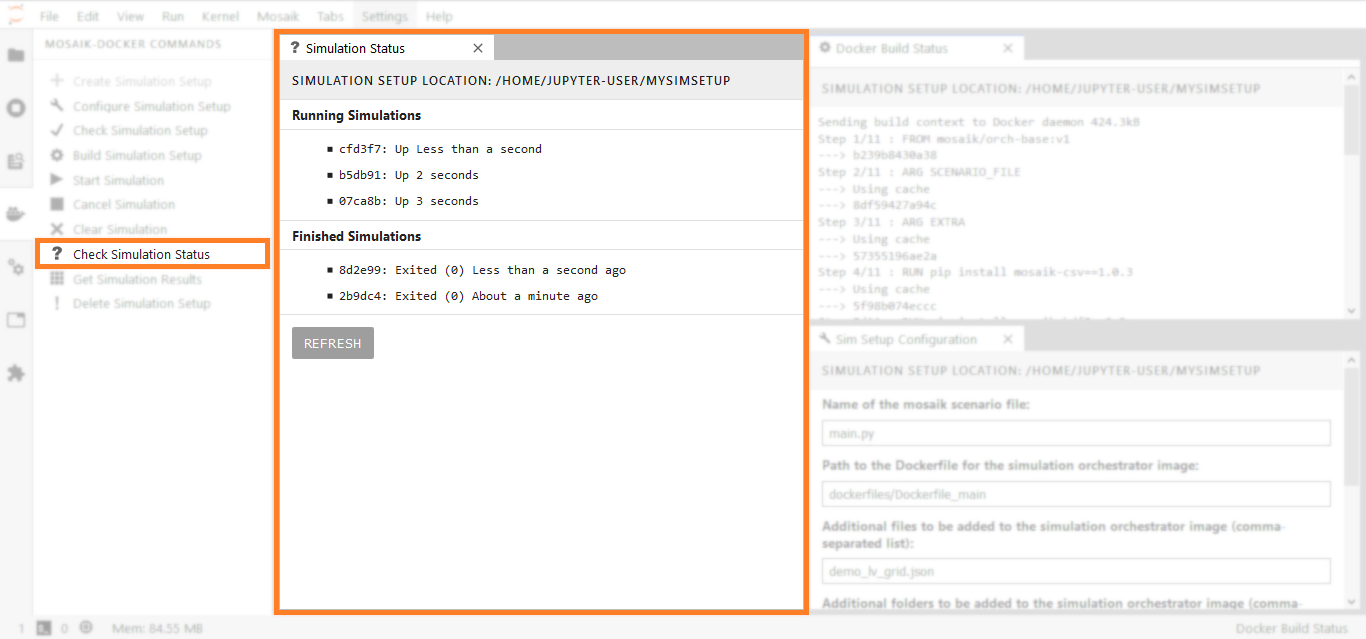
Use command Check Simulation Status to check the status of your simulations.
This will bring up a new tab listing the running and finished simulations (based on simulation IDs).
Retrieve simulation results
After a simulation has successfully finished, you can use command Get Simulation Results to retrieve the corresponding results.
This will bring up a panel that lets you select to retrieve the results from either a specific simulation (drop down menu) or from all (checkbox).

For each selected simulation, the output files specified in the simulation setup configuration (see above) will be copied from the corresponding Docker container and copied to a sub-directory named according to the simulation ID.

Use a JupyterLab terminal
As an alternative to the GUI, you can use the mosaik-docker command line interface (CLI). Simply start a new terminal from JupyterLab’s Launcher tab (see here for further details).
Use a JupyterLab Python notebook
As an alternative to the GUI and CLI, you can use the mosaik-docker Python API.
This is especially usefull for automating your workflow.
Simply start a new Python notebook from JupyterLab’s Launcher tab and import package mosaik_docker.cli (see here for further details).